
Step 1: learn about YouTube formats and choose yours
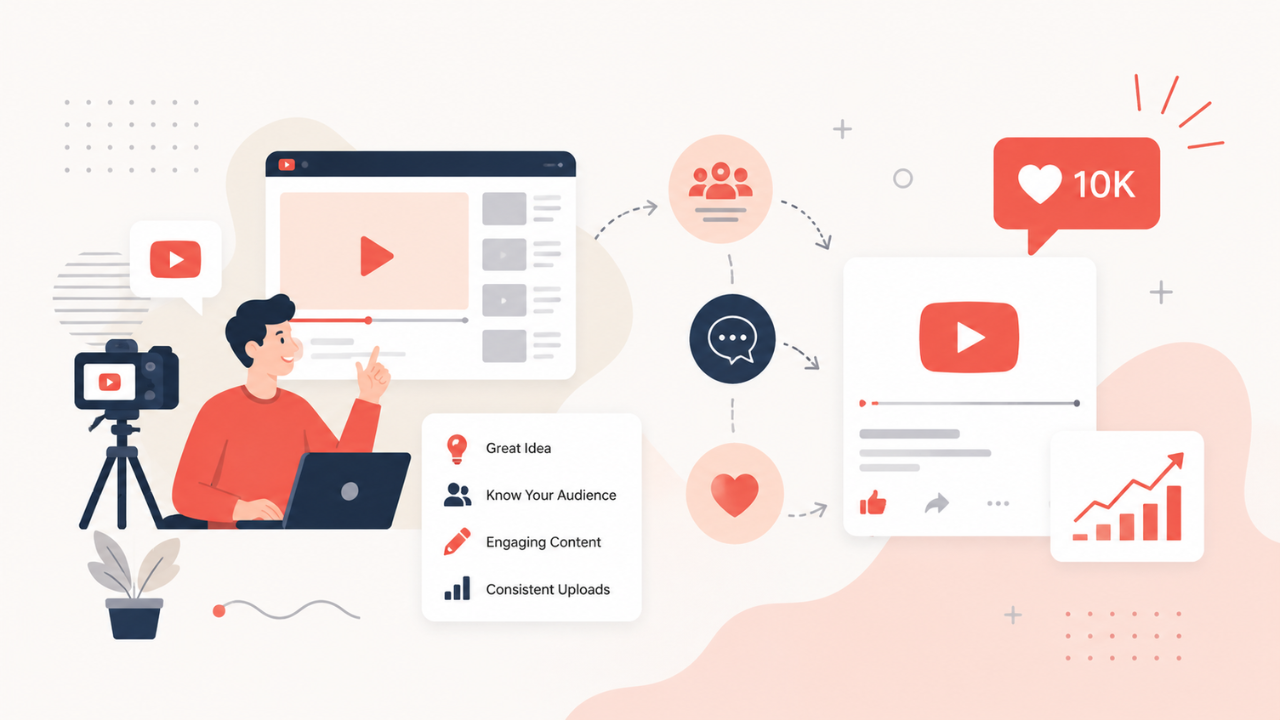
YouTube greatly contributes to the promotion of your personal brand, especially if it is a brand of an expert and you film videos in the field of your expertise. YouTube has different formats: blogs, the “talking head” and reviews, where you share your screen, stream a game, explain how a certain service works or show your reaction on a different video.
There is also an interview format. Any of these formats are good for a full-fledged promotion of your channel.
That is why it is crucial to decide what format you are going to work with.

Step 2: decide how often your videos are going to come out
To begin with, each video will take at least half a day with shooting and editing
If we talk about a relatively simple format – talking head or review - the release will take quite a long time: you will need to analyze the topic, prepare a script and spend some time shooting and editing.
It is a full working day. That is why if you work, study or run a business, bear in mind that the production of a single video will take a lot of time.
Step 3: choose the topic of your channel
The best topic is the one that you are interested in yourself. The topic that you want to cover and that will give you pleasure.
If you still don’t know what inspires you, think about two things. The first option — what do you do? What is your profession or business? If you like what you do, it is logical to devote your YouTube channel to this topic.
The second option — what YouTube channels do you enjoy watching yourself? What content do you like? Some topics are better paid than the others, of which most people are unaware. For example, there is CPM (cost per mile) on YouTube — a sum of money YouTube pays you off their partnership program for other people watching your videos and YouTube adding advertising to your videos. Not all the views are taken into account, only certain ones, the so-called monetized views.
On English-speaking YouTube, it is 5-6-7 dollars for a thousand monetized views. If you make kid content, then the money is less than a dollar. If you talk about investments and finances, it can be more than 10 dollars — even on Russian YouTube, it is up to 12-15 dollars. Bear this in mind when you choose the topic for your YouTube channel. Think about how you will monetize it and how profitable the audience you are aiming for will be.

With Onlypult, save time you spend on SMM tasks — posting to all social media, analytics, multiple links, micro landing pages, web monitoring. All in one place.
Trendy topics on YouTube
Currently, growing trends are Internet promotion, finances, investments, business, e-commerce, health, career, personal development, and coaching. It will be perfect for your channel if the topic you are going to develop is on-trend.
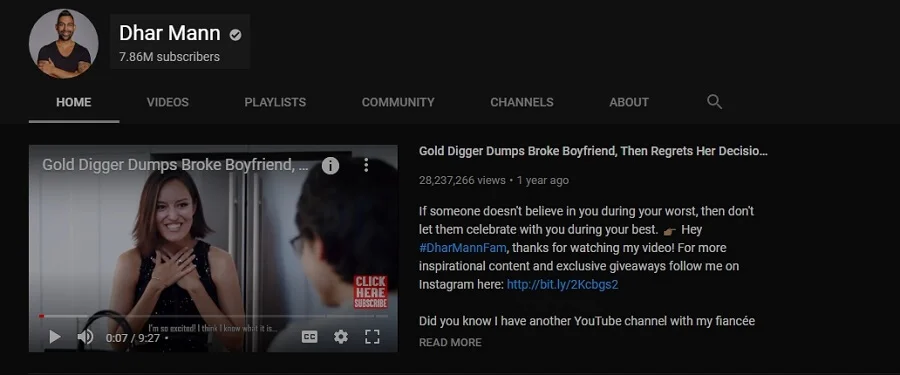
Step 4: come up with a name for your channel
Choose a name that you like because YouTube quite often doesn’t let you rename the channel. There is a certain period (a couple of months) you will have to wait to change the channel name. It will be great if you can promote on YouTube with an existing personal brand. For example, use your name and surname.
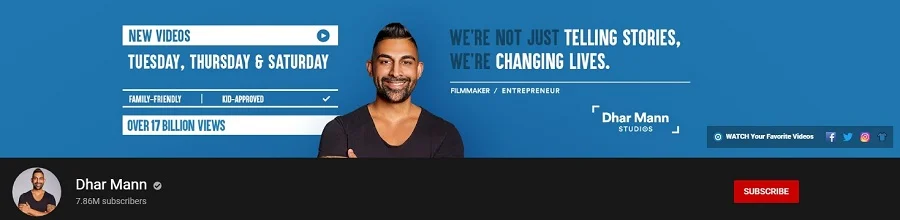
Step 5: style the channel
The most important thing, to begin with, is styling your header. That is what new people on your channel will see at the top of the page. It is the first visual aspect people pay attention to. If you are not very familiar with visual design, find a designer who will style your header.
Advice on how to style the header of your channel:
- Try to make the header concise because then you are less likely to make a mistake and style it poorly
- Draft the channel header that you like and that, as you think, is relevant to your topic and your mood. Now, your goal is not to spoil everything and create a draft header for your YouTube channel.
Step 6: chose topics for the first three videos
Choose topics for the first three videos. Make a list of ten topics or more, and then choose the first three topics, for which you are going to prepare scripts and record a video.
Don’t make your first video a trailer for your channel. Don’t make a video “It is my first video on this YouTube channel.” Set off by making useful content from the start.
vidIQ service
Install a plugin for promotion — it is called vidlQ.
For example, you are looking for a promotional topic for your Instagram account. You are trying to find out if there are videos on this topic already. You enter “promotion on Instagram” in the YouTube search box and vidlQ, once you have installed it, will show you the number of people who search for such videos, how popular the request is, and how often it is looked for, on the right of the screen.
The vidlQ service shows how many competitors there are for a particular topic request.
Step 7: write a script for the first three videos
What is a script? A script is not the text you are going to say. It includes bullet points, clauses, and sub-clauses that make your video.
Avoid writing a script word for word. Firstly, you will not learn it by heart — it makes no sense.
Secondly, any written text when you try to reproduce sounds unnatural unless you are a professional presenter. If it is not the case, try using your own words.
Step 8: record your first videos
You have done your preparation, and now it is time to film. What do you need to record your first videos?
Sound
The most important on YouTube is sound. You don’t have to buy an expensive microphone but buying an average lavalier microphone is a good idea. Avoid using a microphone installed on your camera or phone. Invest in proper equipment.
Video
For the first time, you can use any modern phone to record your videos. Most modern phones have good quality for recording videos especially if you fix them on a tripod. Preferably you need a tripod that has in-built light. That is all you need for the time being. You don’t have to buy professional cameras at this stage. However, when shooting, you need to be aware of the acceptable YouTube video size.
Step 9: Edit your videos
Editing is the most exciting step. For the time being, you can do editing yourself. The easiest editing tool is iMovie.
You can also hire a professional freelance editor and cooperate with them.
If you do a screencast, i.e., a review or analysis of another video, make sure to double-check copyrights.

Onlypult allows posting videos up to 100Mb for YouTube, Facebook, Instagram, and other social media.
Step 10: make a cover for your videos
The cover and title ensure 50% of the success of your video. In-coming traffic consists of people who click your cover and are redirected to watch the video.
Your face and text are an ideal combination for the cover. Use a large font for the text and avoid placing it close to the edges. Your face should be zoomed in and emotional. Before publishing your video make sure to double-check the name in vidlQ. When you were choosing the topic, you should have already decided on the search requests. Make the title your key request and upload your video. Your primary aim now is to start creating content for YouTube.