
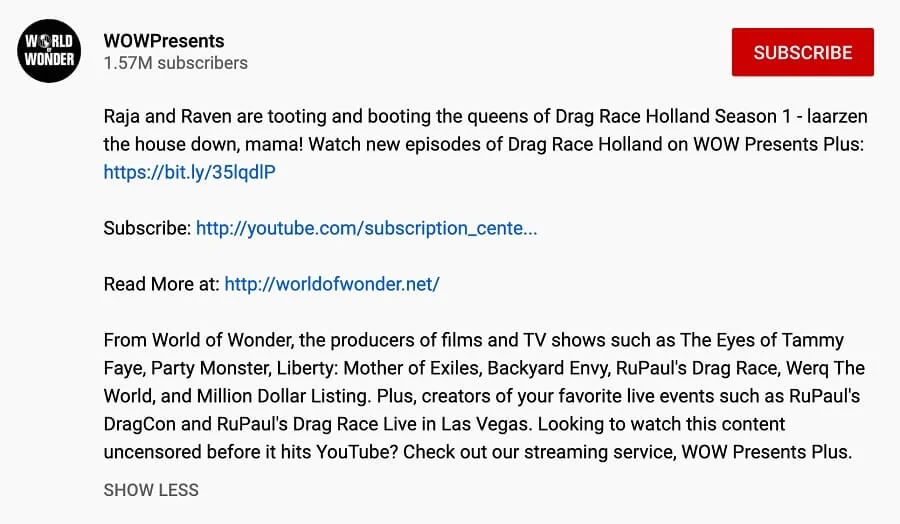
Lately, views on the YouTube service have increased by 30%, according to the speakers of Yoola Influencer’s Data. The reason for it is the pandemic that resulted in the lockdown and shift to remote work. The demand for educational content has increased: students stayed at home, people realized it was time to acquire new skills and learn new professions, whilst YouTube and advertisers have created a favorable environment for businesses making money on video content.
If now you are asking yourself how to start a channel on YouTube, then this article is for you.
The most important question here is how to set up your channel on YouTube and make it attractive for potential subscribers. We are going to review the process step by step.
Step 1: Come up with a name for your YouTube channel
The proverb “the name is a destiny” is quite relevant in this context, as our inner state often depends on external factors, and what we hear and read also produces specific effects. That is why it is important to be scrupulous when choosing a name.
3 ways to name a YouTube channel
1. Your name or a nickname
It can be your name, surname, or both. It is recommendable to use real names for channels on YouTube if you promote yourself as a service specialist: a psychologist, estate agent, massage therapist, etc.
Examples:
Kati Morton – a licensed therapist who makes videos about mental health;
Alissa Violet – a music artist and influencer.
2. Company, brand, or product names
The creation of a channel with engaging content helps attract new clients and keep loyal customers interested.
Examples:
Xbox – an official channel of the game console by Microsoft;
Starbucks Coffee – a channel of an international coffeehouse chain.
3. Generate a random name
It should be resonant and easy to remember. A complicated name can deter a potential subscriber and cause misunderstanding. The name may reflect the format of the channel. But make sure not to breach copyright (don’t use brand or company names).
Examples:
PewDiePie – a popular YouTube blogger;
HobbyKoalafied Fun – an educational channel for children.
With Onlypult, save time you spend on SMM tasks — posting to all social media, analytics, multiple links, micro landing pages, web monitoring. All in one place.
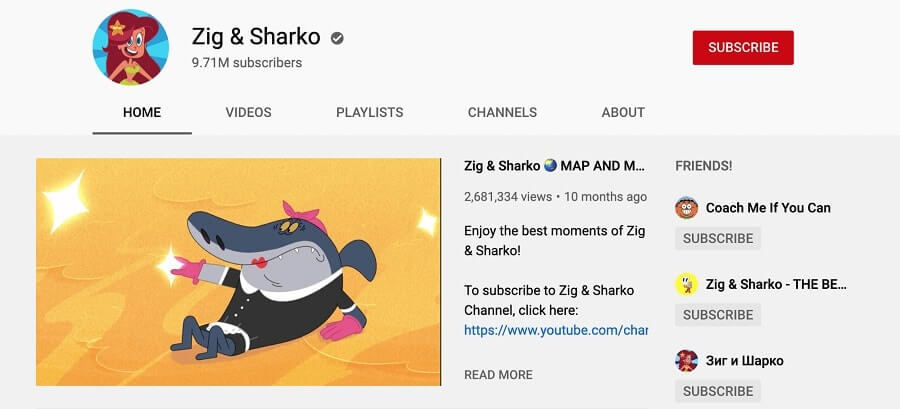
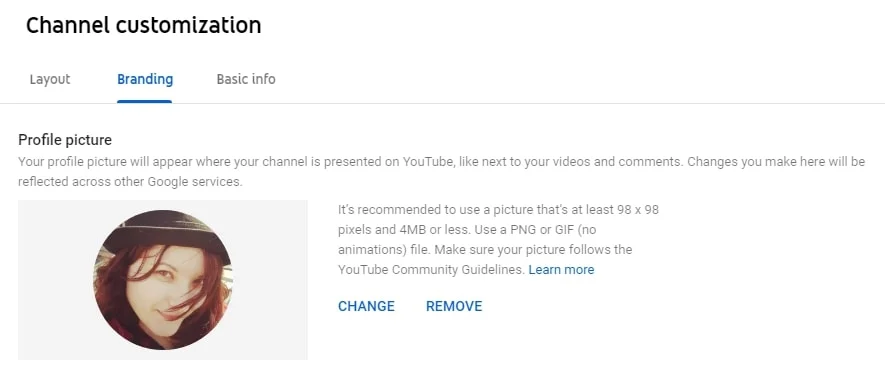
Step 2: Choose a profile picture for your channel
It will be shown in search results, and on the main page of the channel, your subscribers will see it on their lists, and it will be displayed when you comment on any video. The profile picture will be the logo of your channel.
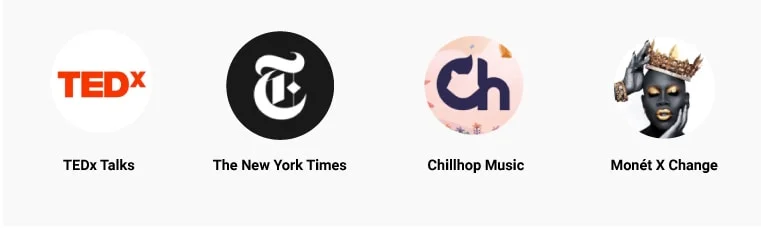
Examples of good profile pictures
The best logos are abbreviations on a white background. It is also possible to use photos and pictures that are copyright free.
Here are some examples of some popular YouTube channels:
What are the technical requirements for a logo?
- PNG, JPG, GIF, or BMP formats.
- 800px х 800px
Where can I get a picture for a logo?
- Take your picture;
- Find a suitable picture on the internet;
- Create it using a special service for it;
- Create it in CorelDRAW or Photoshop (if you know how to use them);
- Order from a designer.
Where can I find copyright-free pictures?
Unsplash.com offers a great variety of pictures that you can use to style your channel. Further, in this article, you can learn about other available resources.
What are other services for creating a logo and how to use them?
All the below mentioned browser services allow creating visual content for YouTube for free. You don’t have to be a professional designer!
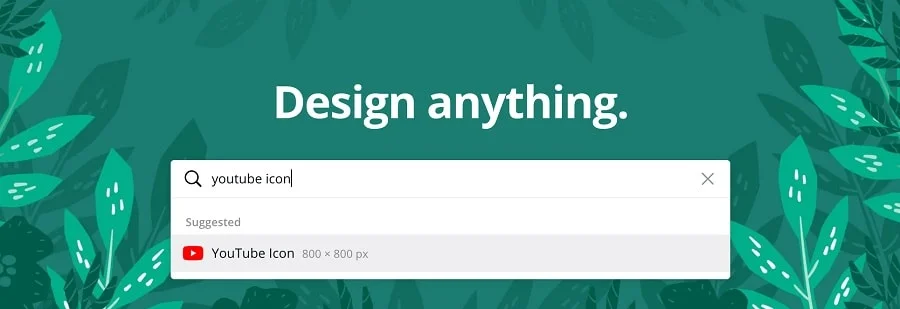
Canva.com there are a free version and a premium one, that allow creating more unique profile pictures.
- Register on the website and search for “YouTube logo” in the search box.
- Then choose a template that you like or an empty one.
- Add the required information, graphic elements, a photo, and text.
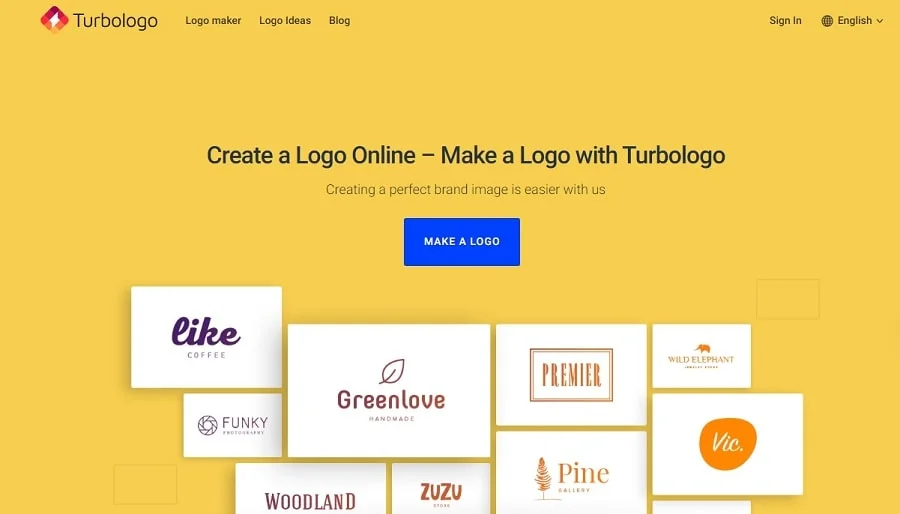
Turbologo.com this service will generate multiple logos for you to choose from. To download them, you will have to register.
- Press the Create a logo button on the website.
- Then add the following information: the name of the company, slogan (not required), and scope of your activity.
- Choose a color scheme and five icons.
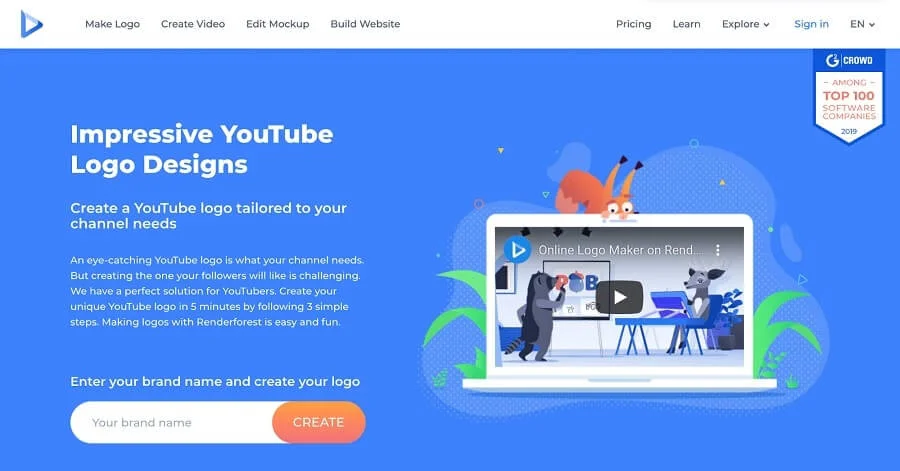
Renderforest.com: a quick and easy way to create logos for YouTube. The peculiarity of this service is that it shows how your logo will look on different things (phones, tablets, business cards, etc.).
- Write the name of your channel on the main page and press the Create button.
- Choose the Name tab and write a slogan and a description.
- Press Next. Choose the style that you like and press Next again.
- Choose and press the Edit and download button. The service will ask you to register.
How to download a logo of your channel?
- You need to open YouTube Studio. Choose the Customization.
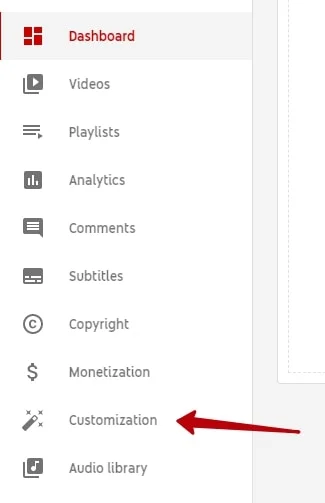
- Find the Brending. Tap the Change.
Step 3: Create a cover for your channel
It is also often called a header or banner. In fact, it is the first and the most prominent advertising of your channel that potential subscribers see when they open it. It is very important to style this part of your channel to make it distinctive and visually attractive.
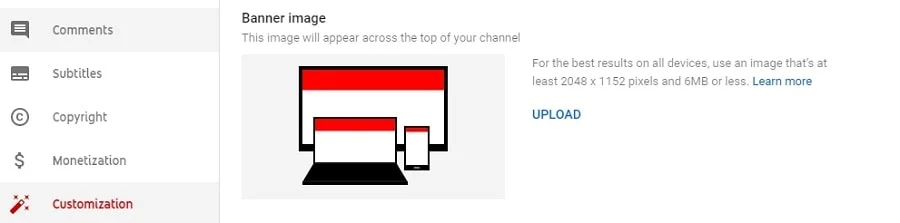
What are the YouTube requirements for the cover?
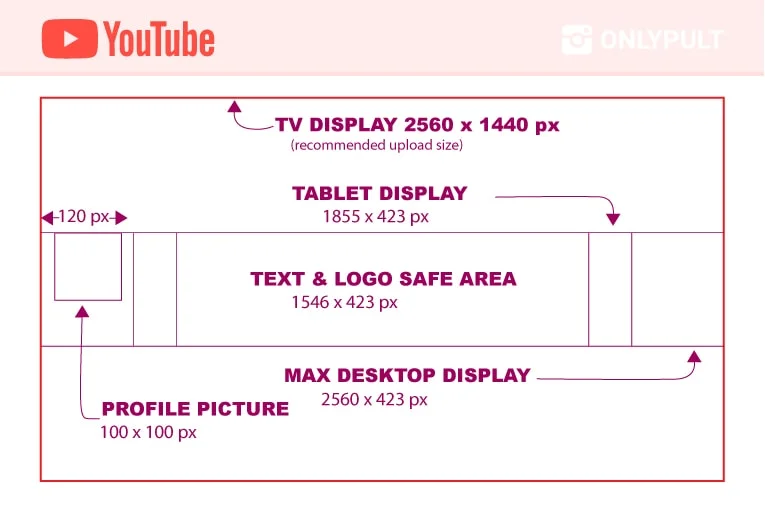
Cover:
- The recommended size is 2560x1440px (the minimal size is 2048x1152px);
- Video aspect ratio is 16:9;
The file size — not more than 6 MB.
When displayed on a tablet, the size is 1855x423px;
- Max resolution is 2560x423px;
- A safe area for a logo and text that will be visible in any case is 1546x423px.
Profile picture:
- The size is 100x100px;
- The common area is 120px.
Ways to style your channel
1. Minimalistic style with minimum details:
- Only one or two colors are used (or identity colors of the brand);
- The name of the channel is clearly written;
- Images, photos, or phrases can be added if required.

2. A colorful design with lots of details:
- An author or team photo;
- A scene from games/films/videos;
- A bright background picture;
- Any other visually attractive details.

3. Writings such as catchy phrases (slogans) or information (announcements, advertising, schedules of new video releases).

4. An image that gives the idea of the format or the topic of the channel:
- A photo;
- An illustration;
- An image.

You can combine and use any of the above-mentioned examples to create a unique cover for your YouTube channel.
What are the available services for creating covers and how to use them?
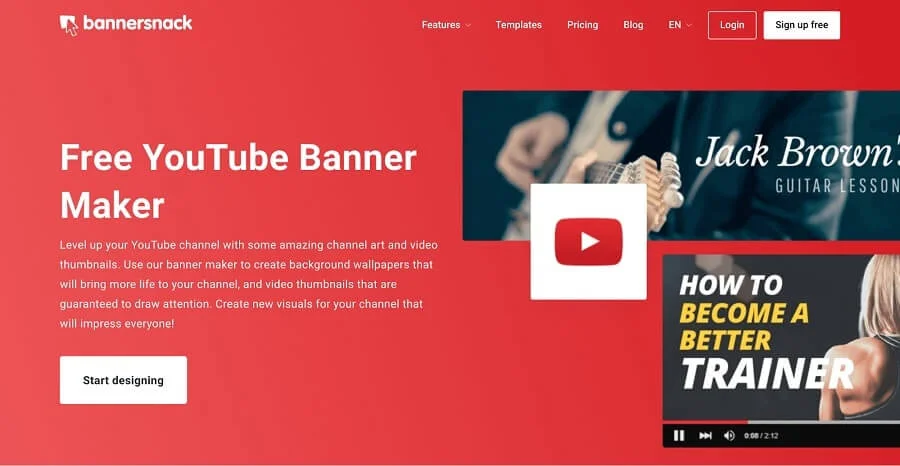
Bannersnack.com is a constructor for YouTube banners.
- Just press Start to begin using the service;
- Register
- Get down to creating a cover by adding visual elements of your choice.
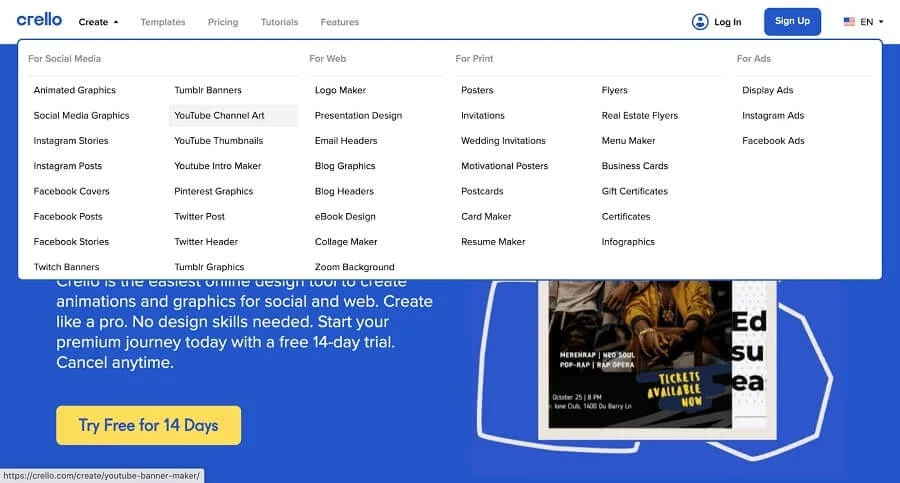
Crello.com a visual constructor allows a 14-day trial and provides a big collection of images.
- Register to start using the service;
- Choose a new project with a suitable template;
- Choose and edit visual elements as you please.
We already talked about this website in the logo section. The service also makes it possible to create banners. To do so, write “Styling a channel for YouTube” in the search box and get started.
How to upload a cover of your channel?
Just like with a logo, you upload a cover through YouTube Studio.
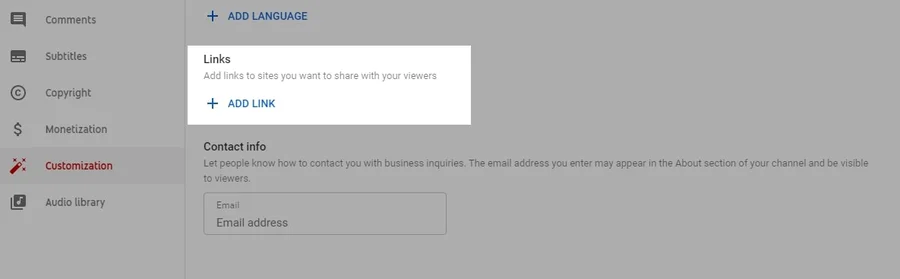
How to add links to a cover of the channel?
YouTube makes it possible not only to promote your account but also to increase traffic on your website or social networks. In the bottom right corner of the cover, you can add small icons that will redirect users. Thus, your subscribers will be able to learn more about you and see your activities outside YouTube and contact you for future cooperation.
Onlypult posts to all social media platforms, collects analytics data, allows creating micro landing pages and multiple links, and helps monitor what people say about your company.
To add icons, you need to take some simple steps:
- You need to log in to the YouTube Studio
- Choose the Customization.

- Choose the Basic info
- Add the required links.
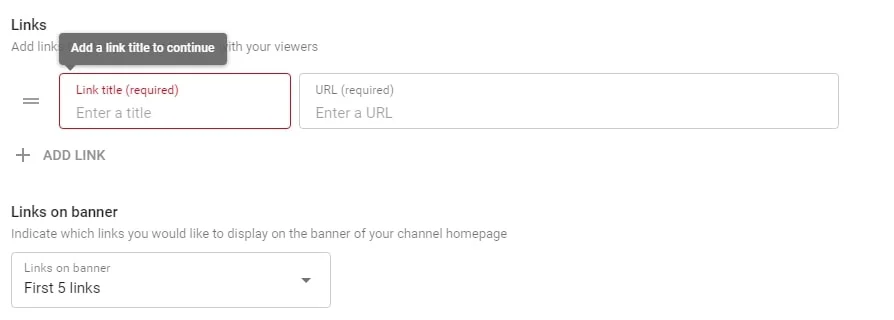
You can add only 5 links to external websites, and only the text of the first link will be fully displayed.
Here is an example showing how links are displayed on the cover:

Step 4: Add a description of your channel
It is not a crime not to have a description, and your channel obviously will not be blocked. But you need to understand that it is another tool for attracting subscribers to your YouTube channel and keeping them engaged. A description will be a quick introduction to your channel and will help new users understand what is so good about it and what they can find there. Moreover, you can add contact details and a link to your website there.
To add a description of your channel, go to Settings and find the Basic Info tab on your Channel.
Things to consider when writing a description of your channel
- A description depends on the format and the topic of your channel. If you position yourself as a blogger, describe what you do, who you are, and what videos you make. If it is a company or brand channel, you should tell what products you sell and what services you provide.
- Bear in mind that the description has a character limit. The text should not be longer than 1000 characters, and only the first 200 will be visible on the front page — the rest will be available when you open a description tab.
- Use key phrases correctly. Do not overdo it by writing as many as possible. Be concise and brief.
Examples:
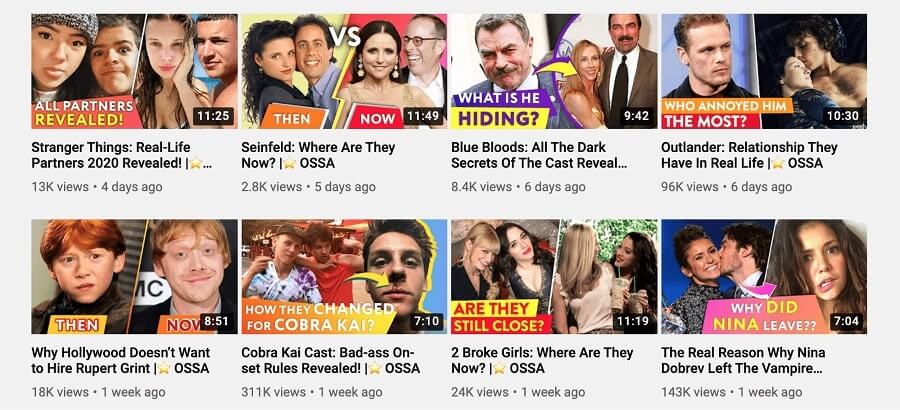
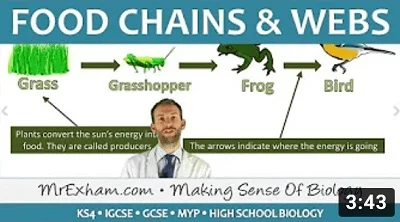
Step 5: Style a video thumbnail
It is the thumbnail of the video that creates the first impression. It mostly depends on the thumbnail if a person is going to click the video or not. That is why video thumbnails should be taken seriously.
Popular channels often have similar formats when it comes to styling thumbnails. The better your thumbnails are, the more likely new people are to subscribe to your channel on YouTube. You can use similar thumbnails for videos devoted to particular topics and just change the text and the name, or you can make a new thumbnail every time you upload a video – it is up to you.
YouTube suggests a couple of shots you can use as a thumbnail when you upload a video, but they are likely to be worse than custom-made and well-thought-through options. A random video frame is unlikely to be a masterpiece.
The most common mistakes when making a video thumbnail
- A screenshot indicates that the author did not make any efforts or just did not know how to make a thumbnail. A good thumbnail requires the same amount of time as a video itself.
A bad example:
A good example:
- Unnecessary details. Unlike the banner, which should have bright colors and details, a video thumbnail with excessive details can deter viewers. It is advisable to be moderate.
A bad example:

A good example:

- Excessive text on a thumbnail. Do not try to fit in a lot of text on your thumbnail. Too much of a good thing is sometimes a bad thing.
A bad example:
A good example:

Step 6: Write a video title
After reading the title, a user decides whether to watch the video or not. So try to make titles catchy and understandable. When you write a title, your task is to answer what is the most valuable and catchy thing about the video; why viewers will potentially want to watch it?
Avoid writing long titles — limit yourself to 7 words. It is the number of words that an average person can easily keep in mind.


Step 7: Add a description to your videos
A video description is a preview that helps users to understand if the video is of any interest to them. The text will be located just under the published video. You should take the characteristics of your potential viewer and subscriber into account when you write a description.
Onlypult allows posting videos up to 100Mb for YouTube, Facebook, Instagram, and other social media.
Things you can mention in the description:
- A short description of the video, keywords, intriguing content;
- Links to your sponsors, shops, and other commercial products;
- Links to playlists of the channel;
- Time codes of the video.
- Hashtags.
What is a time code, what is it for, and how to make it?
Time code is a link to a particular part of the video. It is useful for long videos where different topics are discussed that break a video into semantic blocks
To create a time code, you need to go to YouTube Studio and do the following actions:
- Choose the Videos tab
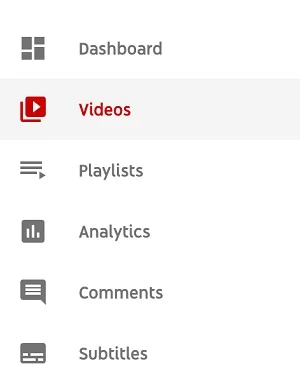
- Find the video you need and press Change
- In the Basic Info section, add the necessary time codes in the following format: “min:sec, description”.

- Save changes by pressing the button in the top right corner.
The time code will be displayed automatically, but it will have a clickable link that will redirect a viewer to a particular part of the video.

Step 8: Create playlists
To make it more convenient for viewers, you can add videos to playlists that allow you to organize videos by topics just like folders are arranged. It will take a user only one click to start automatically playing videos in the playlist one by one. Moreover, when users search for particular videos in the search box, the playlist will also be shown and displayed if there is a keyword.
How to make a playlist?
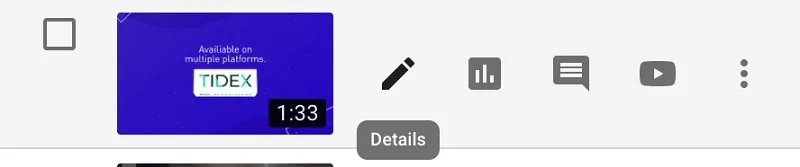
Go to the YouTube Studio and choose the Playlists tab.
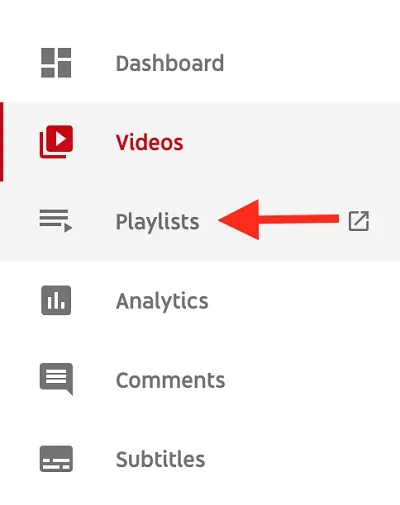
Here you can change old playlists and create new ones.
Just choose the playlist you need and change its settings. You can change the visibility, add a description, and also set the priority of videos.
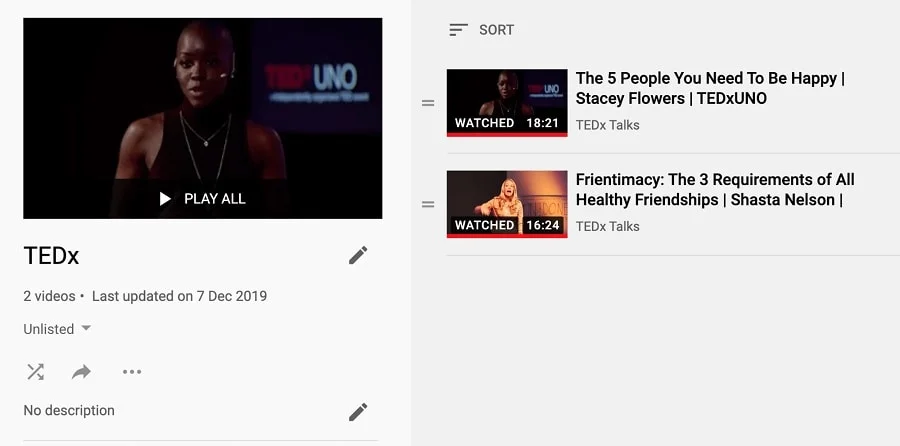
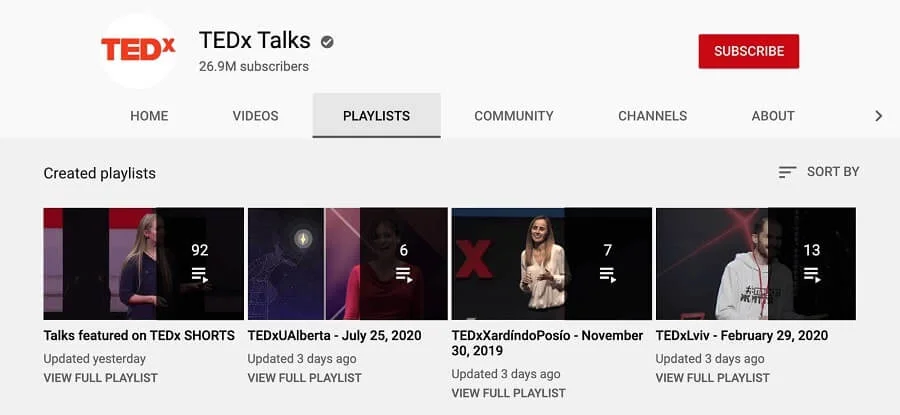
TEDx, a popular channel example.
Step 9: Schedule the time for video releases
Subscribers like consistency. Thus, if they know that your videos are regular, they can’t wait to see the next one. You become a part of their routine. Just like with episodes of a popular series: the more you watch, the more you want to see what happens next. Besides, consistency matters for YouTube. The system ranges channels according to the regularity of their new content. So, regularity is going to be beneficial for you at all events.
You should choose a specific day or a couple of days when you upload new content and stick to the plan. The most popular days on YouTube are Saturdays and Sundays. It is weekend days when 40% of the viewers spend time watching the videos on this video hosting platform.
Conclusion
Styling your channel on YouTube requires a lot of time and effort. But we all can create a popular first-class channel by uploading qualitative pictures, texts, and videos that viewers will be happy to see.