Using CSV files to schedule social media posts is a convenient way to save time.
With Onlypult, you can schedule up to 100 posts at once using a specially prepared template. This downloadable template includes guidelines for placing links, media, text, and other elements. You can download a sample file to see how to properly organize your content before uploading it to Onlypult, a template with an example to fill out is available at links.
Steps to upload a CSV file:
1. Preparing a CSV file:
- Create a CSV file and fill it with the required content, an example of a filled file:

How to fill columns in a CSV file:
- Date and Time - Specify “Date and Time”
- Use Planner Time - If you want to use the pre-created time cells of the Planner to assign a record, specify “Yes” in the column. Otherwise, the time from the Date and Time column will be used
- Text - Write the text
- First comment - Write the comment
- Media URLs - Provide a link to the media file
- Title - Write the title
- Link - Insert the link
- Stories Post - Select Yes to create Stories
- Reels Post - Select Yes to create Reels
- Shorts - Select Yes to create Short
- Link Title - Provide the name of the link
- Pinterest board - Provide the exact name of the Pinterest board for which the post is created
Please note:
- The size of the CSV file must not exceed 5 MB
- The CSV file must contain no more than 100 rows
- The size limit for media files depends on the tariff plan (from 100 to 500 MB)
- Text messages, individual images and videos, galleries, stories, Reels and regular posts are supported
- If you want to add a date and time to messages, they must correspond to the following format: DD-MM-YY and YY-MM-DD (12 and 24 hour formats are supported)
- Time zone settings will be used automatically, which you set in the general settings of Onlypult
- If any parameters are specified incorrectly, that post will be created with an error, as a Draft (for example, if you do not specify the date)
- Supported image formats: jpg/jpeg, png, bmp, gif
- Supported video formats: mp4, mov, avi, mkv, flv, wmv
- You can also upload media files from Dropbox and Google Drive.
- To properly import the file along with the posts, make sure that the “Media URLs” column contains a link to a file available for direct download (a link from a website, such as Pixabay).
2. Uploading a CSV file:
- Go to the “Publish” section in Onlypult.
- Select the social network you want to post to.
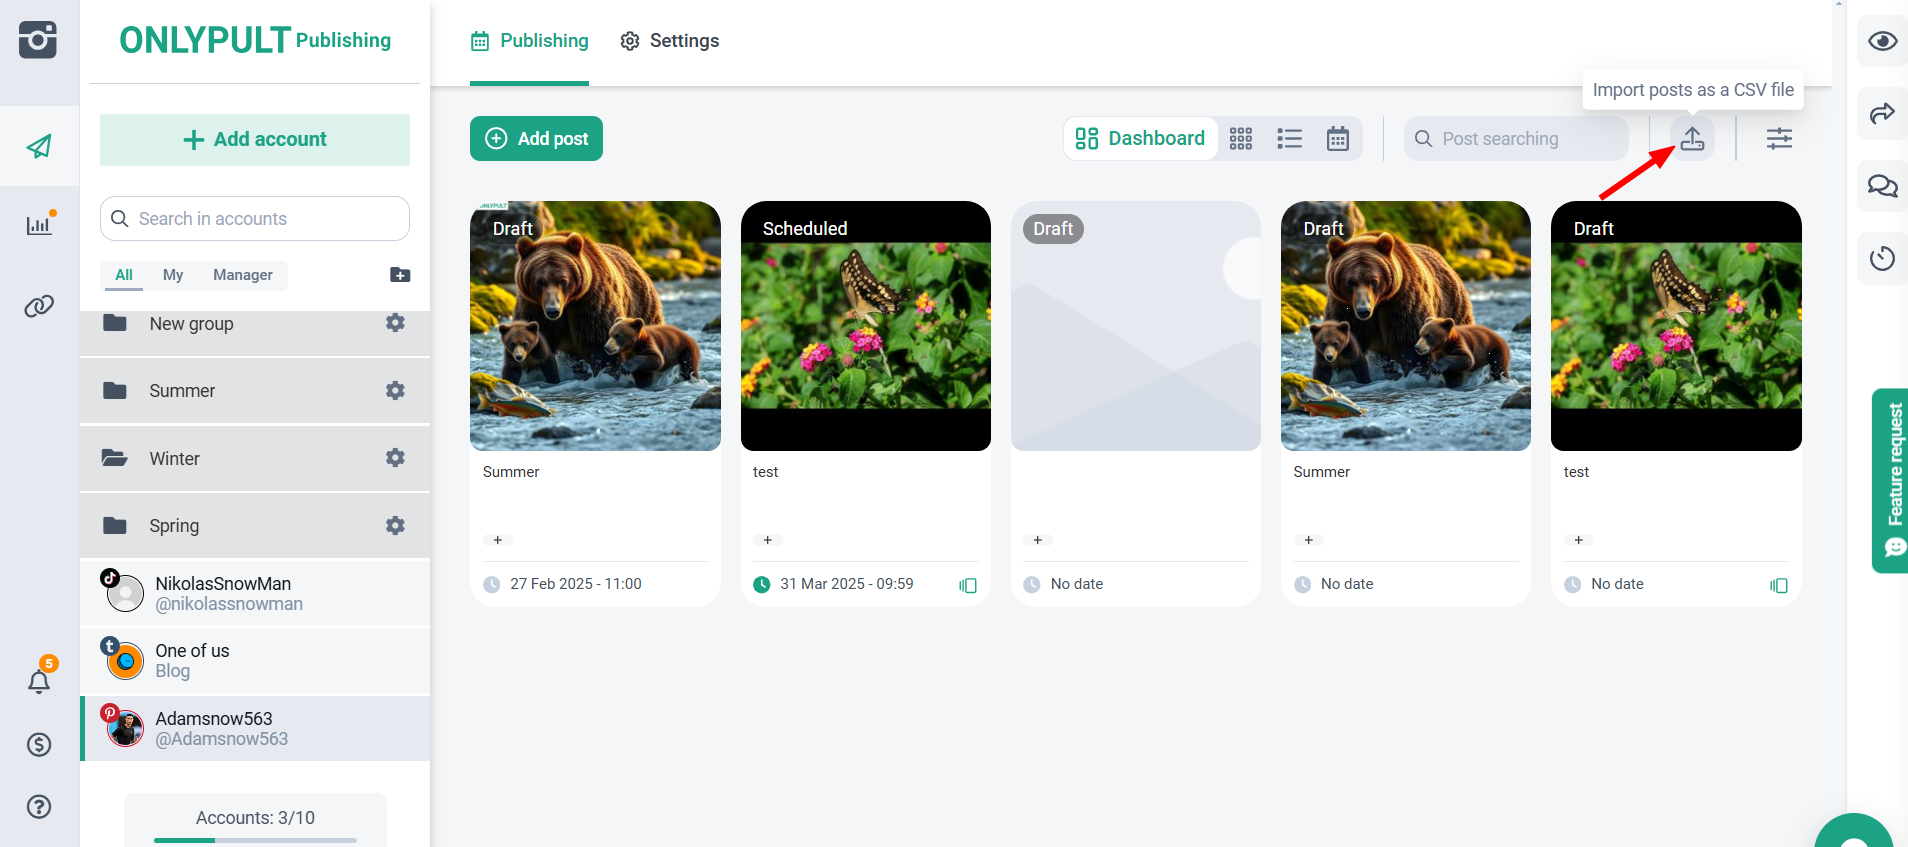
- Click the “Import Posts” icon:

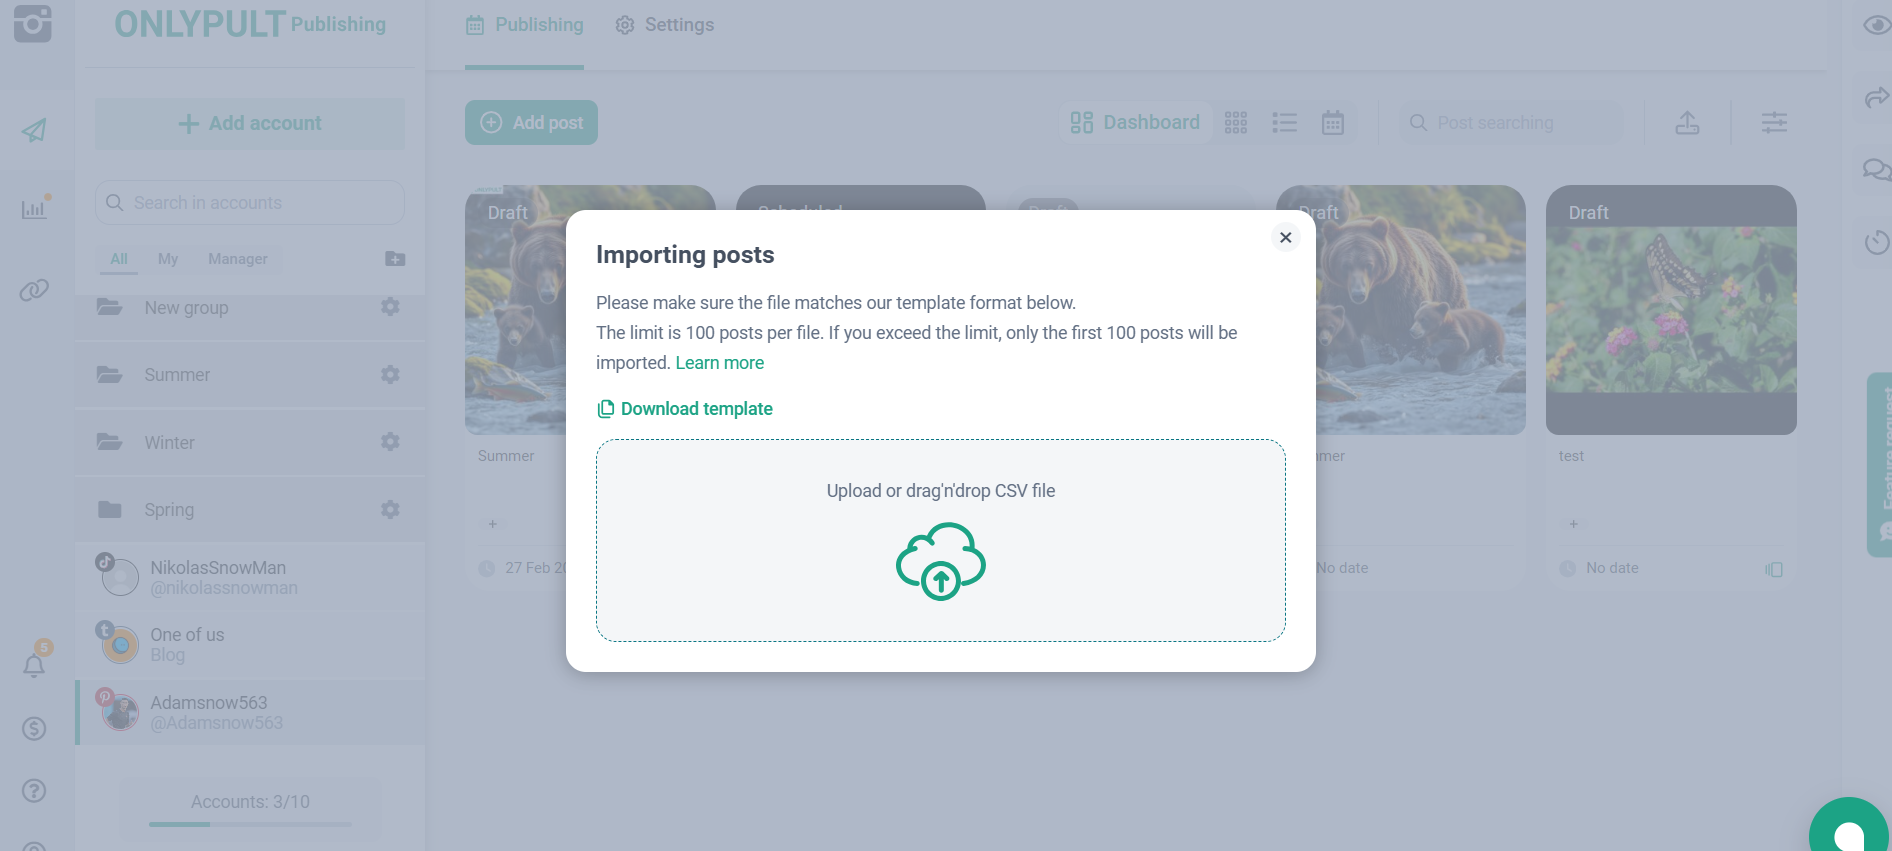
Select or drag the CSV file onto the screen and the posts will be imported:

3. Processing messages:
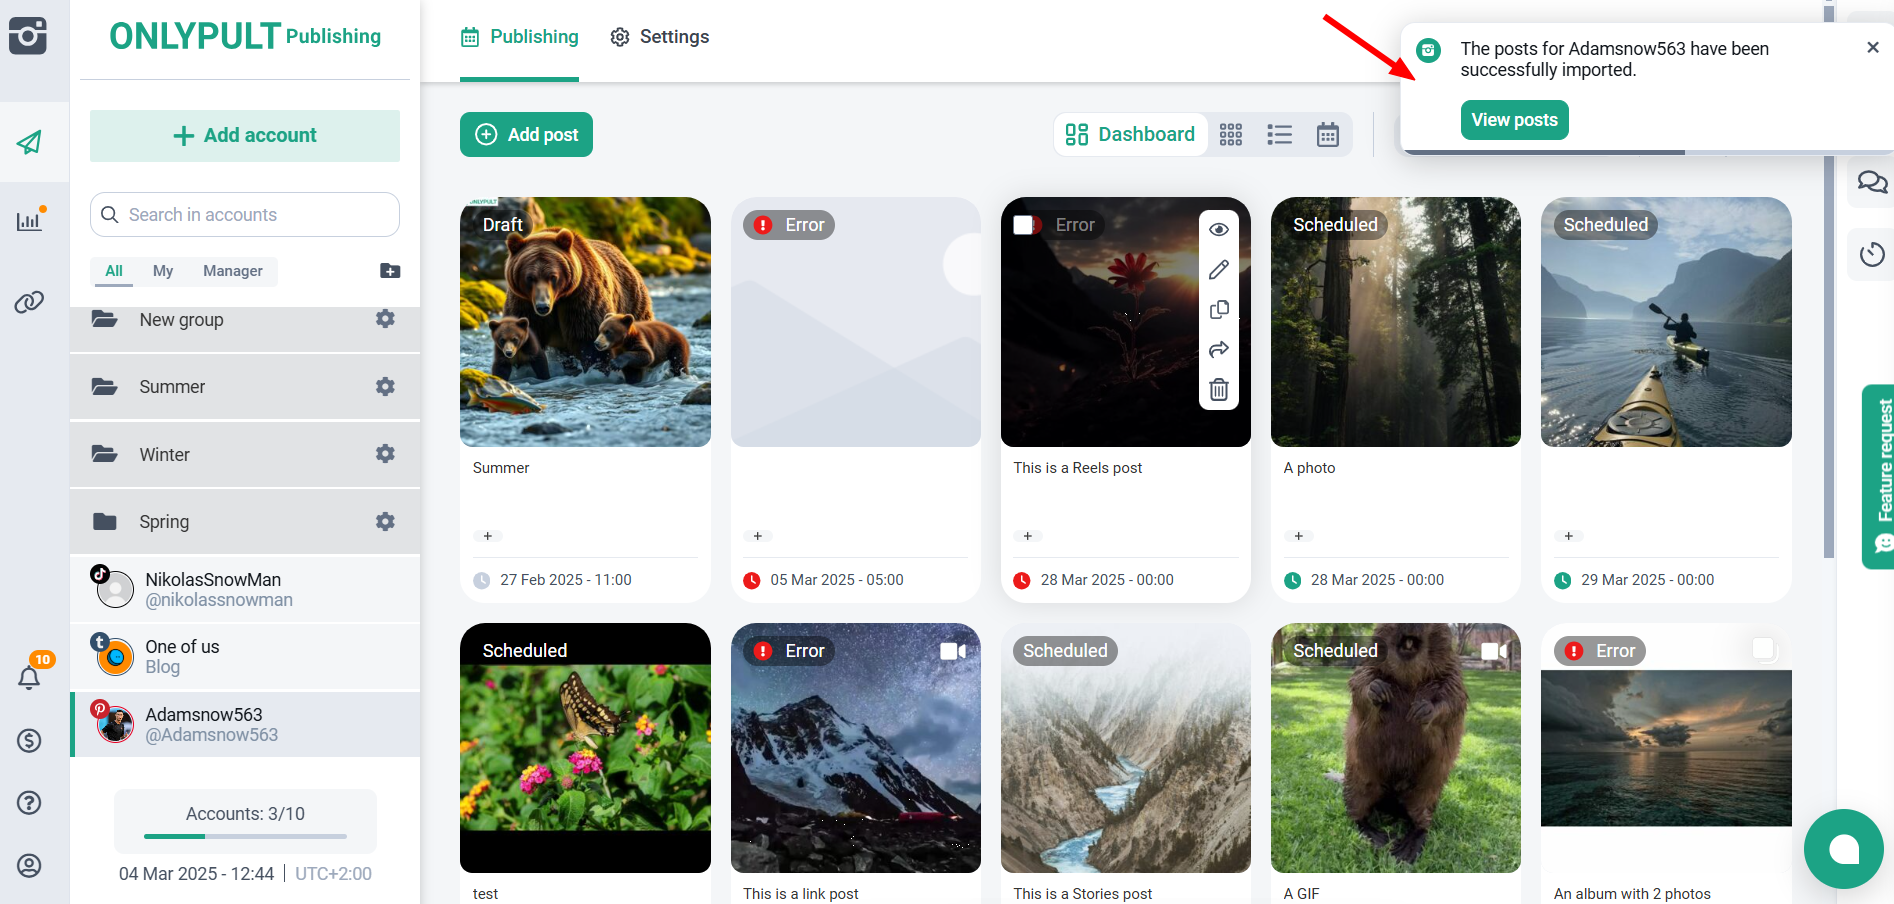
After the CSV has been successfully uploaded, you will be able to see all imported posts in the workspace, as well as a confirmation message in the upper right corner of the screen:

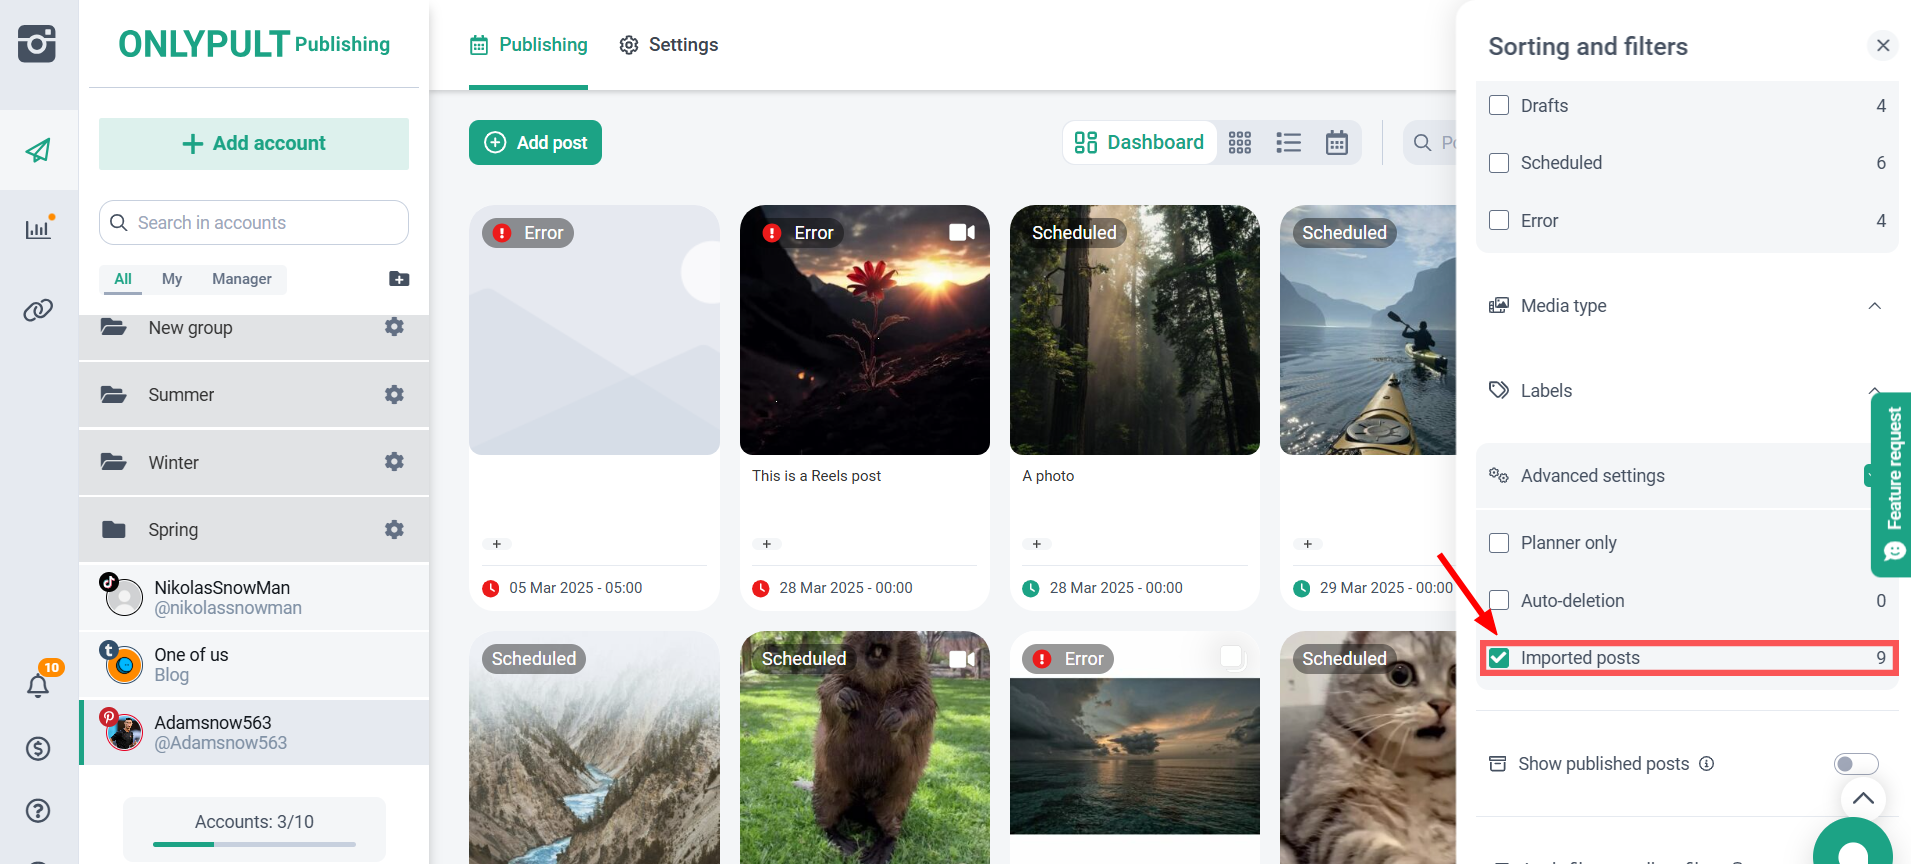
If you want, you can filter all imported posts using the filter:

Note:
- The time it takes to upload a CSV file may depend on its size, content, and the number of files processed on the Onlypult platform.